컨테이너 삭제하는 이유는?
Docker rm 컨테이너 ID
ㄴ 삭제하는 이유는? Image는 복사본 + Process = container
ㄴ OS공간을 사용 중
Docker에서 Python코드로 로또만들기
vi py_lotto.py
from random import shuffle
from time import sleep
gamenum = input('로또 게임 회수를 입력하세요: ')
for i in range(int(gamenum)):
   balls = [x+1 for x in range(45)]
   ret = []
   for j in range(6):
      shuffle(balls)			# balls를 무작위로 섞고,
      number = balls.pop()		# balls의 제일 마지막 숫자를 추출하고, 제거
      ret.append(number)		# 추출된 숫자를 ret에 추가
   ret.sort()
   print('로또번호[%d]: ' %(i+1), end='')
   print(ret)
   sleep(1)
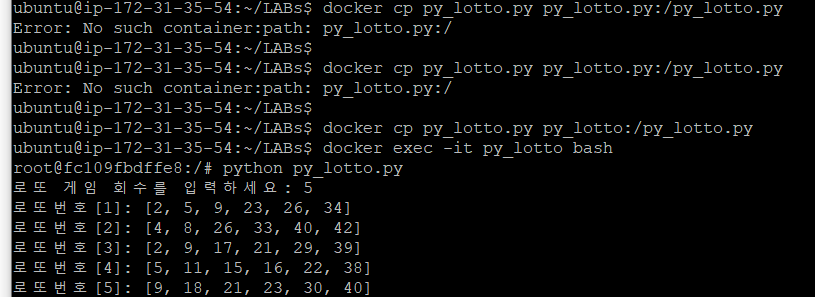
docker run -itd --name=py_lotto python:3.9-slim #백그라운드 Python 실행
docker cp py_lotto.py py_lotto:/py_lotto.py #우분투에서 만드 vi 도커로 복사
docker exec -it py_lotto bash #실행
python py_lotto.py #파이썬 코드 실행
Docker에서 node.js 돌리기
간단한 nodejs 스크립트 작성.
vi nodejs_test.js
var http = require('http');

var content = function(req, resp){

 resp.end("Good morning Korea ~! -TAE SUNG-" +"\n");

 resp.writeHead(200);

}

var  web = http.createServer(content);

web.listen(8000);
docker pull node:15-slim # 도커에서 node 이미지 다운로드
docker run -d -it -p 9000:8000 --name=nodejs_test node:15-slim # 백그라운드에서 노드 설치
docker ps # 도커에서 프로세스 확인
docker cp nodejs_test.js nodejs_test:nodejs_test.js #도커로 node코드 복사
docker exec -it nodejs_test bash #도커에서 실행
ls #디렉터리 확인
node nodejs_test.js #노드 실행
curl localhost:9000 # 확인
결과 확인

docker search node, docker search python 등 search하면 이미지들을 검색할 수 있다.
STARS는 좋아요 수 이다. 최대한 STARS가 많을 것은 받는게 안전하다.

우리가 받은 Docker image를 검사할 수 있다.
docker image inspect 명령어로 이미지 내부를 검사할 수 있다.
docker inspect 도커 자체를 검사하는 것
EX) docker inspect cadvisor | grep MacAddress를 입력하면 cadvisor의 Mac주소를 알 수 있다.
hub.docker.com에서 사용자가 생성한 이미지를 업로드 수행하기
1) docker login
2) docker image tag 원본 이미지 : 태그 본인ID/저장소:태그(버전)
3) docker push
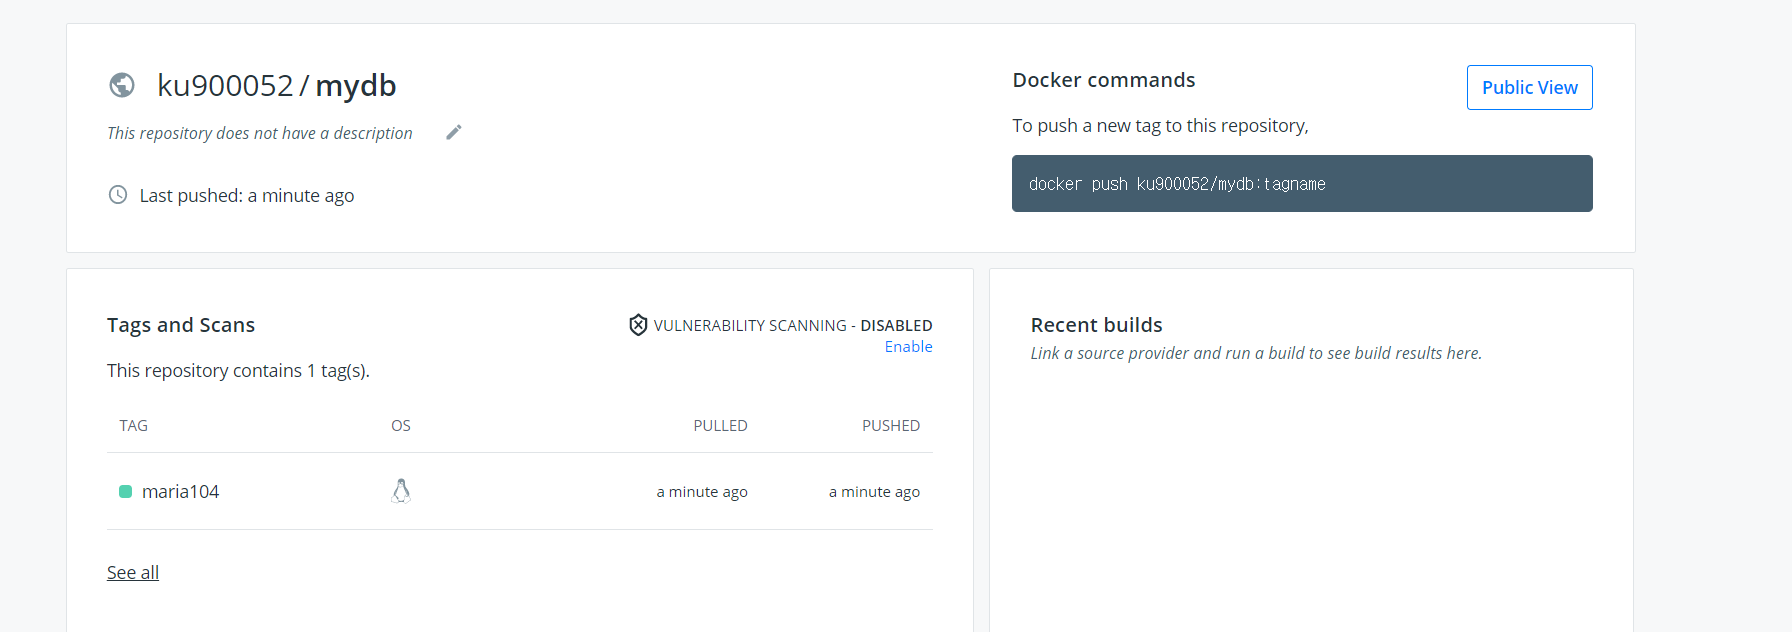
docker pull mariadb:10.4 # 이미지 다운로드 mariadb
docker image tag mariadb:10.4 ku900052/mydb:maria104 #태그를 통해 저장소에 이미 넣기
docker push ku900052/mydb:maria104 #업로드
docker images #확인
hub.docker.com 내아이디 저장소에 올라와 있는 모습을 확인 할 수 있다.
이어지는 실습
1번
docker pull mysql:5.7
docker tag mysql:5.7 본인ID/mydb:my5.7
docker images
docker login
docker push 본인ID/mydb:my5.7
2번
docker pull mysql:8.0
docker tag mysql:8.0 ku900052/mydb:my8.0
docker push ku900052/mydb:my8.0
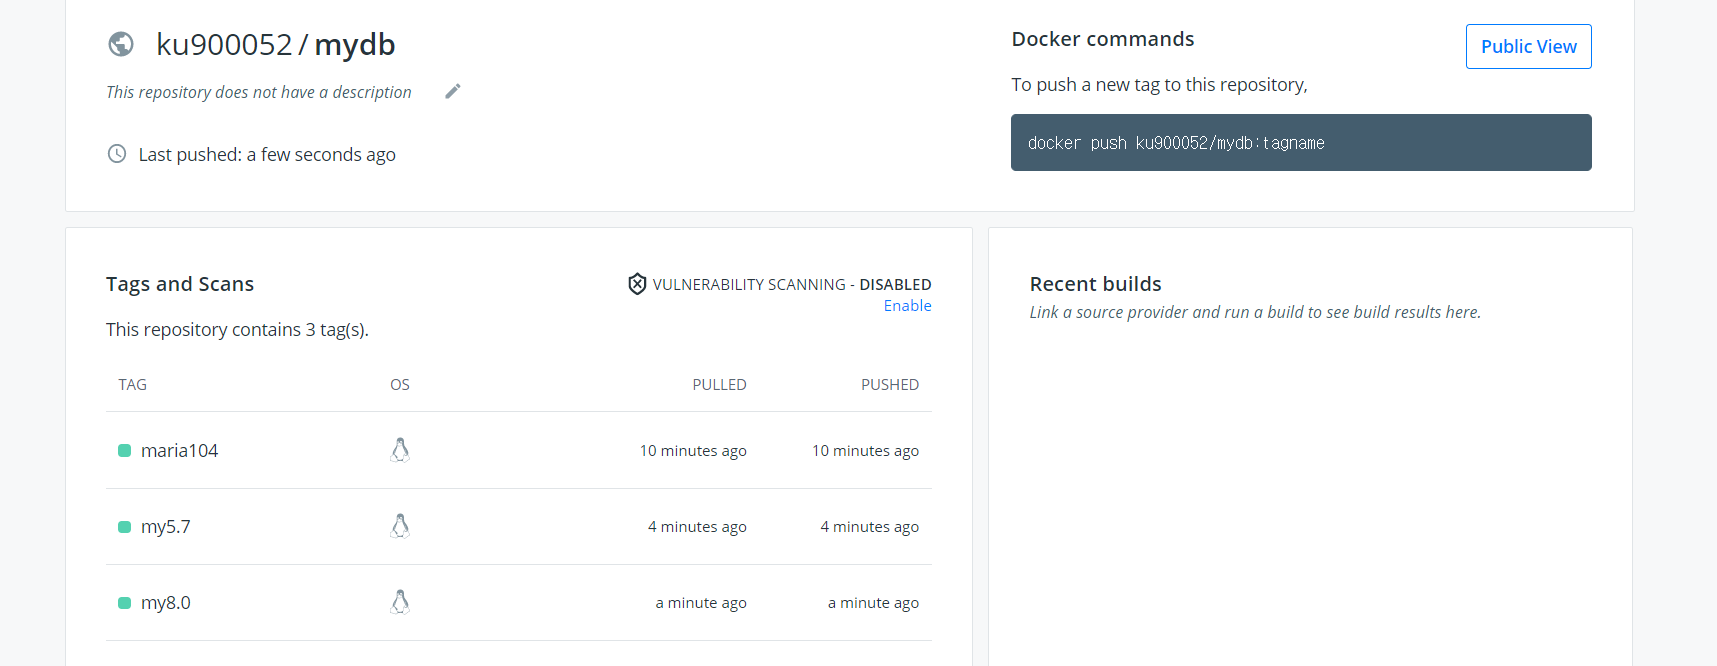
위와 같이 확인할 수 있다.
사용자가 프로젝트에 맞는 이미지 개발(작은 것)
Dockerfile → bulid → tag → push 순으로 진행한다.
mkdir nginx
cd nginx/
~nginx/$ vi Dockerfile #베이스 이미지 생성
FROM nginx:1.19

COPY index.html /usr/share/nginx/html/index.html

EXPOSE 80

CMD ["nginx", "-g", "daemon off;"]
~nginx/$ ls -l # 확인
~nginx/$ vi index.html #index.html 생성
<html>  <head>

<title>Amazon EC2 base docker  Application</title>
<style>body {margin-top: 40px; background-color: #333;} </style>
</head>
<body>
<div style=color:white;text-align:center>
<h1> Complete! </h1>
<h2> TS K.. </h2>
<p>Application is now good running on Docker nginx  web.</p>
</div>  </body> </html>
~nginx/$ docker build -t my-nginx-image:1.0 . # . ←마침표 주의!! 빌드를 해주는 것이다.
~nginx/$ docker images #이미지가 잘 있는지 확인한다.
~nginx/$ docker run --name webserver2 -d -p 8002:80 my-nginx-image:1.0 #웹 서버 실행
#컨테이너 실패 시 → docker image rm my-nginx-image:1.0 로 삭제 후 다시 이미지 설치
~nginx/$ docker ps # 프로세스 확인 만약 존재한다면 계속 진행
~nginx/$ curl http://localhost:8002 #내 로컬호스트에서 index.html 실행이 잘 되는지 확인

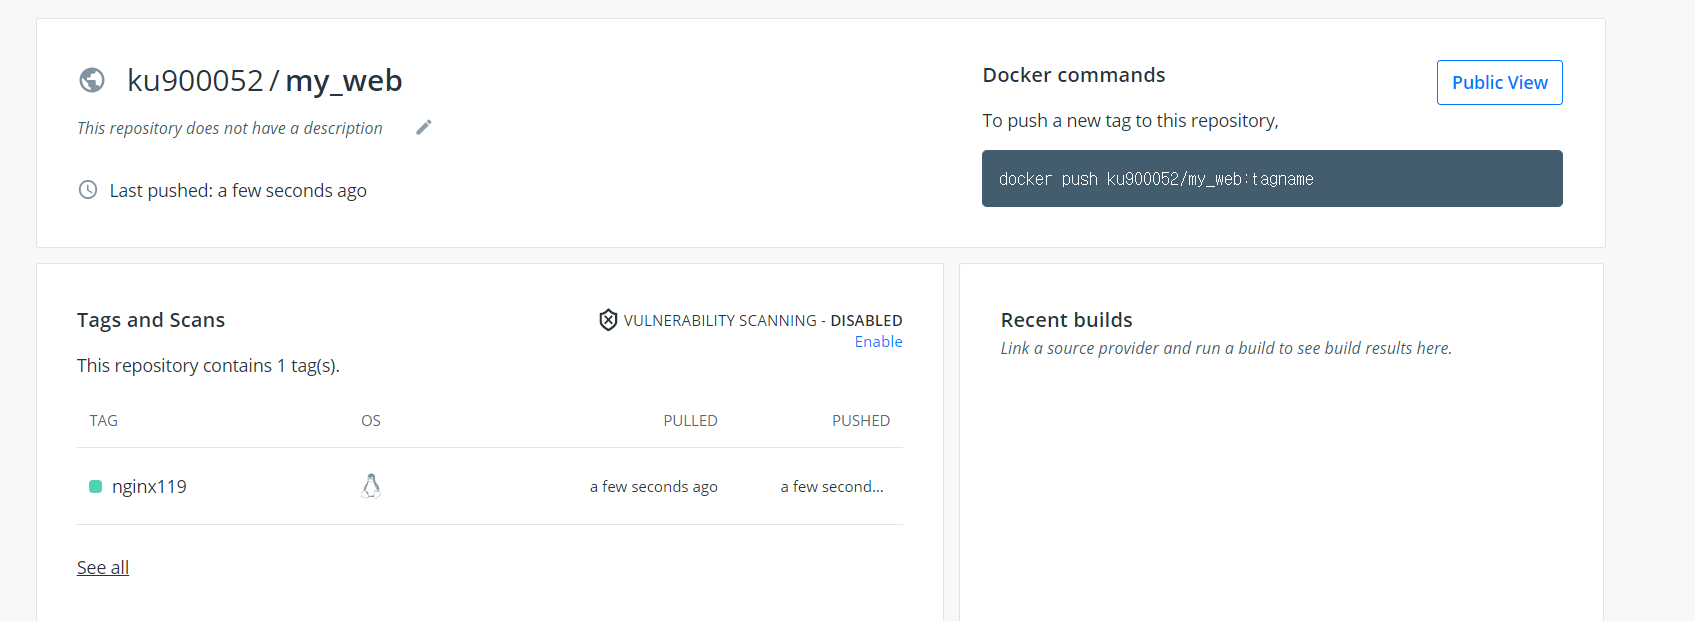
~nginx/$ docker image tag my-nginx-image:1.0 ku900052/my_web:nginx119 # 내 저장소에 태그하기
~nginx/$ docker push ku900052/my_web:nginx119 # 내 저장소에 업로드
결과확인
사용자 큰 이미지 만들어보기
노드를 사용하여 제작
node.js 소스코드
디렉터리 단위로 제작해야한다.
vi app.js
const http = require('http');
const os = require('os');

console.log("NPM node server starting...");
var handler = function(request, response){
        console.log("Received request from " + request.connection.remoteAddress);
        response.writeHead(200);
        response.end("You 've hit" + os.hostname()+"\n");
};

var www = http.createServer(handler);
www.listen(9090);
vi Dockerfile
FROM node:15-slim
ADD app.js /app.js
ENTRYPOINT ["node", "/app.js"]
#FROM 으로 BASE 이미지 로드
#ADD 명령어로 이미지에 app.js 파일 추가
# ENTRYPOINT 명령어로 node를 실행하고 매개변수로 app.js를 전달
docker build -t nodejs:1.0 .
#test
docker run -itd -p 9090:9090 nodejs:1.0
docker ps
#upload
docker login
docker image tag nodejs:1.0 본인ID/nodejs:1.0 # 태그
docker images #이미지가 잘 있는지 확인한다.
docker push ku900052/nodejs:1.0 #push
curl localhost:9090 #확인
ubuntu@ip-172-31-35-54:~/LABs$ cd webapp/
ubuntu@ip-172-31-35-54:~/LABs/webapp$ cd ..
ubuntu@ip-172-31-35-54:~/LABs$ git clone https://github.com/brayanlee/webapp.git
brayanlee/webapp
Contribute to brayanlee/webapp development by creating an account on GitHub.
github.com
ubuntu@ip-172-31-35-54:~/LABs/webapp$ ls -al
total 68
drwxrwxr-x 3 ubuntu ubuntu 4096 May 28 12:25 .
drwxrwxr-x 3 ubuntu ubuntu 4096 May 28 12:24 ..
drwxrwxr-x 8 ubuntu ubuntu 4096 May 28 12:25 .git
-rw-rw-r-- 1 ubuntu ubuntu 55682 May 28 12:25 webapp.tar.gz
/LABs/website$ vi Dockerfile_web
FROM ubuntu:14.04
MAINTAINER "TS <k-t@boanin.com>"
LABEL "purpose"="webserver practice"
RUN apt-get update && apt-get -y install apache2 \
                                         vim \
                                         curl

ADD webapp.tar.gz /var/www/html
WORKDIR /var/www/html
EXPOSE 80
CMD /usr/sbin/apachectl -D FOREGROUND
# ADD는 tar.gz의 압축을 풀어주는 용도도 있다.
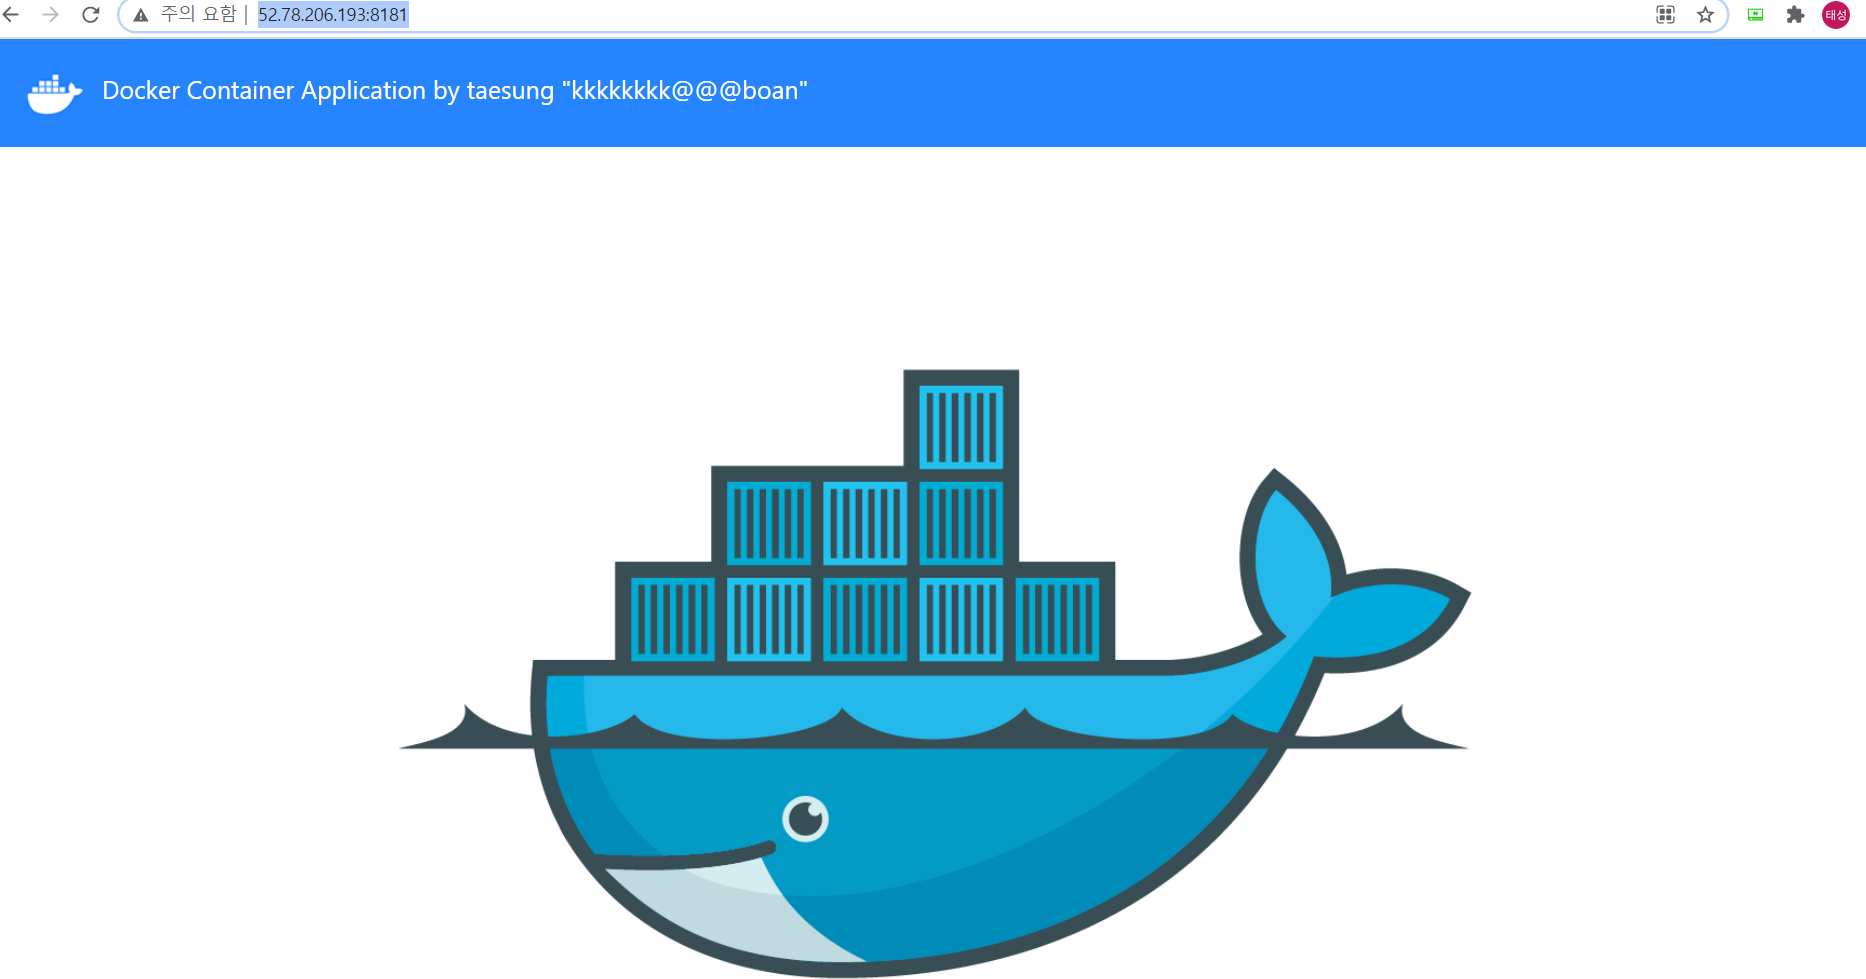
docker build -f Dockerfile_web -t myhttp:2.0 . #빌드
docker run -d -p 8181:80 --name myapacheserver2 myhttp:2.0 #실행
/LABs/webapp$ docker exec -it myapacheserver2 bash #도커에서 실행
root@616fd6380d8c:/var/www/html# ls #도커접속한 모습
css index.html pngs
docker login #hub.docker.com에 로그인 하는 것
docker image tag nodejs:1.0 ku900052/myhttp:2.0 #이미지 태그
docker push ku900052/myhttp:2.0 #이미지 푸쉬(upload)
결과확인